How to Make Social Media More Accessible for Light Sensitivity
Social media can be an addictive force in our lives, even those for whom it could actually cause physical pain—such as for a person with motion or light sensitivity. Most of the time, you just want to log off for a while if you are in the middle of an attack or episode. Take this anecdote (which is one of many) as a common example:

But disconnecting may not always be the most desirable option. And the reality is being on social media doesn’t always have to hurt. Here are 3 awesome and useful social media features that make the hours of scrolling more tolerable for a person with photophobia and other sensory sensitivities. Plus, we take you step by step through how to activate or disable each of these features.
(*Note: We're also including a 'how to' video at the bottom of this post)
Night Mode

How many of us have been sifting through our friends’ and followers’ feeds in the middle of the night? And how many also regret those several minutes or hours we spent staring at a starkly bright screen in total darkness? If you’re one of these people who feels their eyes strain or an impending migraine attack or post-concussion syndrome headache, then "Night Mode" is for you.
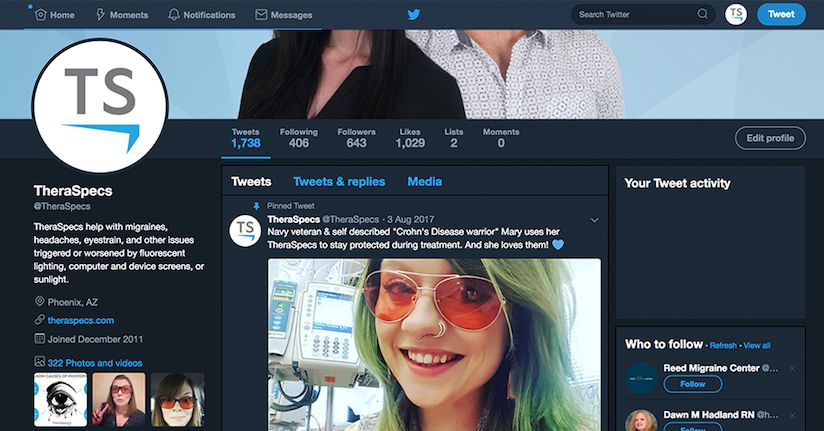
Night Mode allows users to invert white backgrounds to dark and similarly adjusts the text color to white. Currently, Twitter and YouTube are the most prominent social networks to adopt this new feature, but it could potentially expand to other platforms as well.
Enable "Night Mode" on Twitter (Mobile App or Desktop)
- Log in to your Twitter account
- Click on your profile image to access "Profile and Settings"
- Select "Night Mode" or the crescent moon shape (☾)
Enable Dark Theme on YouTube (Desktop)
- Log in to your YouTube account
- Click on your profile image
- Toggle "Dark Theme" option to "On"
Enable Dark Theme on YouTube (Mobile App)*
- Open the YouTube app
- Click on your profile image
- Select "Settings"
- Toggle "Dark Theme" option to "On"
*Note: As far as we can tell, this feature is not available to all users within the mobile app. It can often take days or weeks before new features are rolled out to all accounts, if at all.
Autoplay

There can be nothing worse than having your day ruined by a video that has bright flashing lights or turbulent motion graphics—especially if you were not expecting it and had no opportunity to stop it. This is especially problematic for those people who have photosensitive epilepsy, in which high contrast light and imagery can actually bring on a seizure. Thankfully, many social platforms have made it easy to disable this "autoplay" setting for videos.
Disable Autoplay on Facebook (Desktop)
- Log into your Facebook account
- Select (▼) in the upper right corner
- Select "Settings" from the drop down
- Select "Videos" from the menu on the left side
- Change "Default" → "Off" in the Auto-Play Videos section
Disable Autoplay on Facebook (Mobile)
- Open the Facebook App
- Tap the three horizontal lines in the lower right corner
- Scroll down and select "Settings"
- Choose "Account Settings"
- Select "Videos and Photos"
- Choose "Autoplay"
- Highlight "Never Autoplay Videos" from the option set
Disable Autoplay on LinkedIn (Mobile and Desktop)
- Log into your LinkedIn account
- Click on your profile image in the upper left (desktop) or upper right (mobile)
- Select "Settings and Privacy" (desktop) or ⚙ (mobile)
- Click / tap "Autoplay videos"
- Toggle from "Yes" → "No" (desktop) or select "Never Autoplay Videos" (mobile)
Disable Autoplay on Twitter (Mobile App and Desktop)
- Log in to your Twitter account
- Click on your profile image to access "Profile and Settings"
- Select "Settings and Privacy" → "Accessibility"
- Deselect "Video Autoplay" (desktop) or choose "Video Autoplay" → "Never" (mobile)
- Click "Save Changes"
Unfortunately, Instagram does not have a built-in feature to stop automatically playing videos, but hopefully it will be available soon.
Closed Captions / Open Transcript / Image Descriptions

Last but not least, one of the most reliable features for those who may be dealing with sensory triggers remains captioning (and similar related settings). Facebook even allows you to alter the format of the captions, including the transparency and background color. Some users may find their default setting to be too difficult to read, thus triggering eyestrain, headaches and even migraine attacks. What may be even more exciting is the opportunity to view and/or download transcripts of videos—without ever having to watch the video. This is particularly helpful if the visuals are so strong so as to be a trigger for you.
Enable captions on YouTube videos (Desktop)*
- Log into your YouTube account
- Navigate to the video you would like to watch
- Hover over the video to reveal player options
- Select the (cc) button
Enable captions on YouTube videos (Mobile)*
- Open the YouTube app
- Navigate to the video you would like to watch
- Tap anywhere in the video player
- Select the vertical ellipses
- Choose "Captions" in the pop-up menu
Enable automatic captions on Facebook (Desktop)*
- Log into your Facebook account
- Select (▼) in the upper right corner
- Select "Settings" from the drop down
- Select "Videos" from the menu on the left side
- Choose "On" in the Always Show Captions setting
*Note: Captions may not be available for all videos.
View video transcript on YouTube
- Log into your YouTube account
- Navigate to the video you would like to watch
- Select the ellipses below the video (next the "Share" buttons)
- Select "Open Transcript"
In addition, Twitter has added a unique feature whereby content creators on the platform can create image descriptions that can subsequently be read by screen readers. This is a great solution for somebody with low or impaired vision—of which light sensitivity and photophobia can certainly be classified!
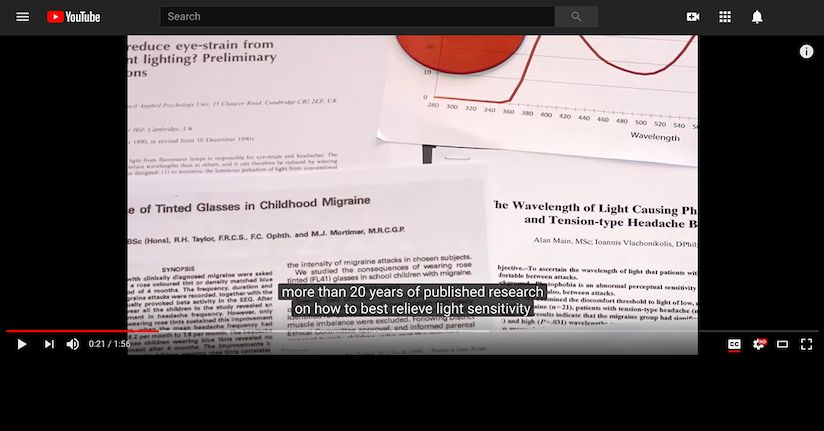
See how to activate (or disable) these features by watching the video below!
Want more great tips for managing light sensitivity? We compiled a list of smartphone features that can help reduce the negative impact of light while you're on your mobile device!

TheraSpecs® Glasses for Light Sensitivity
Find the glasses that fit your needs and lifestyle, and stay protected from screens, fluorescents, unwanted blue light, sunlight, flashing lights, and more.
Shop Now


